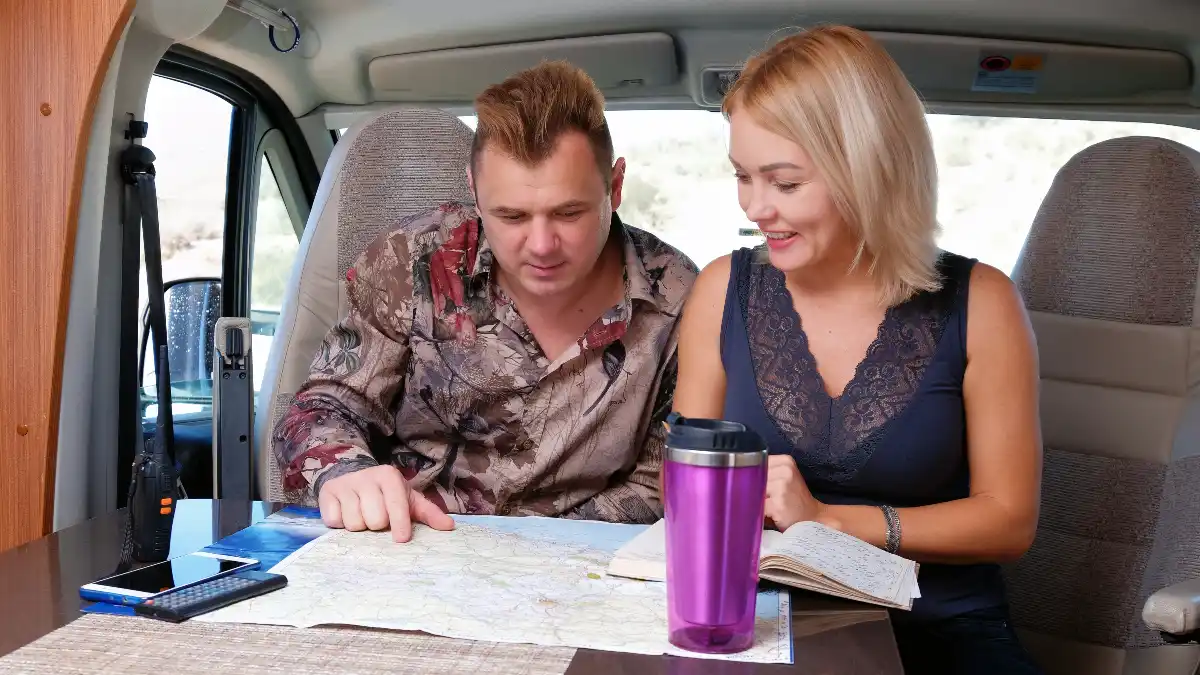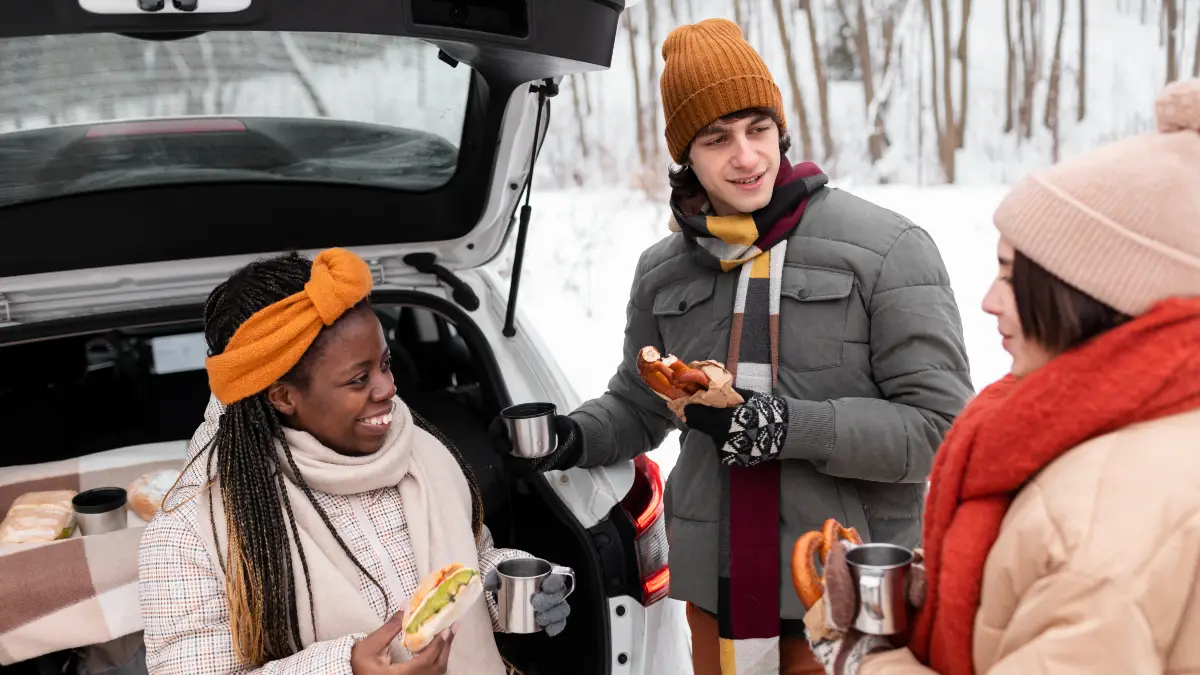
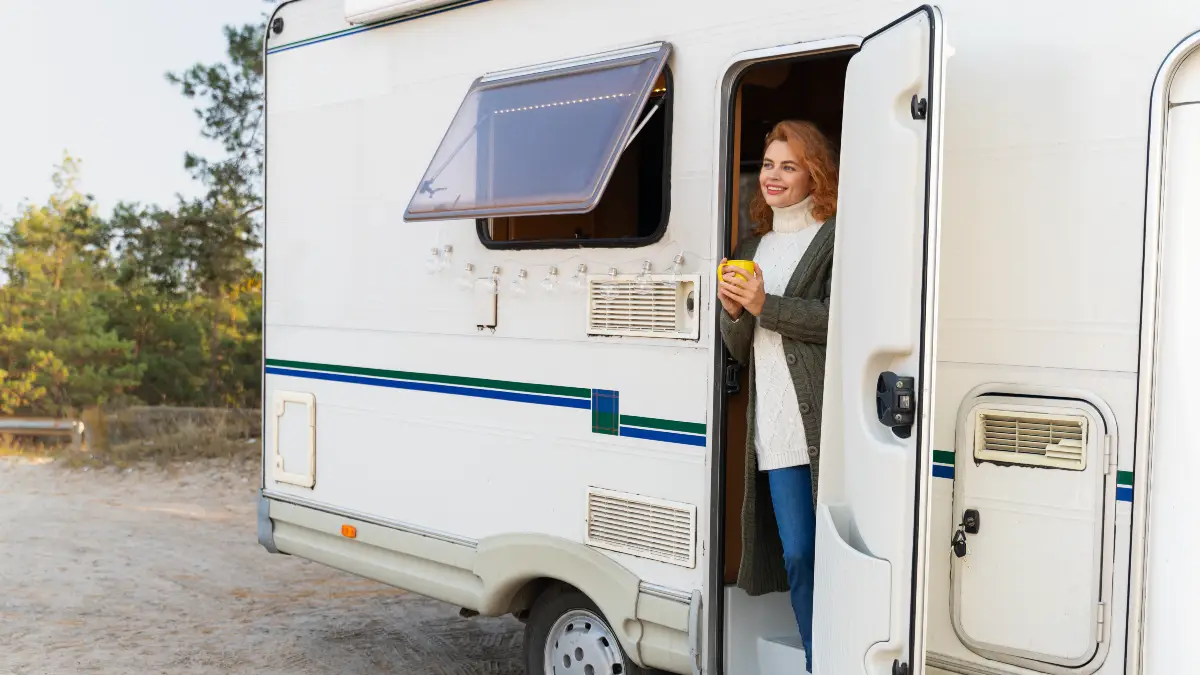
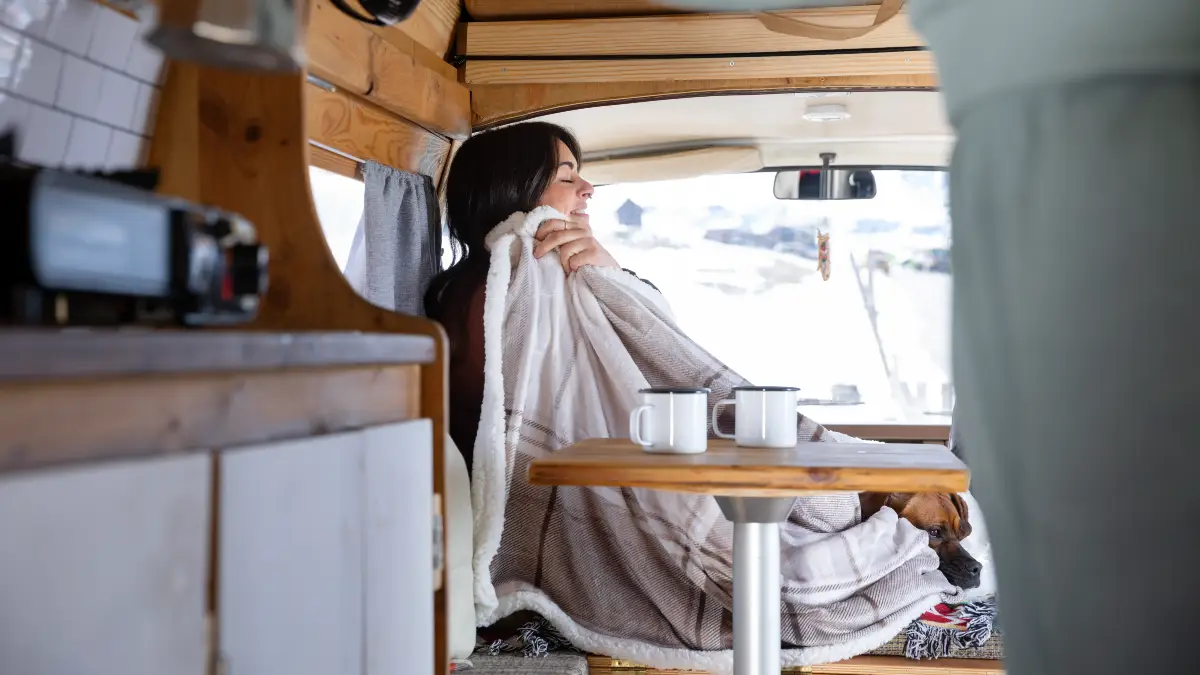
Full-time RV living in the winter presents a unique set of challenges, especially when the thermostat drops below freezing. The romance of the open road can quickly turn into a nightmare of frozen pipes, severe drafts, and skyrocketing propane bills.
Surviving the harsh winter demands more than just extra blankets—it requires strategic preparation and clever modifications to ensure warmth, comfort, and the protection of your rig’s essential systems.
This comprehensive Winter RV Living Guide is your essential resource for conquering the cold. We’ve compiled proven hacks and expert tips to help you insulate, heat, and manage moisture, transforming your mobile home into a cozy, resilient haven, no matter how low the mercury plummets. Embrace the frosty season with confidence and comfort.
1. Build a Simple, Cheap Foam Board Skirt
Putting a skirt around your RV’s underbelly is the single best change you can make to your RV for winter comfort. The skirting does not work so much because of its insulation value. It works because it blocks the wind and cold airflow that rushes underneath your rig.
Stopping that wind chill effect cuts down the heat you need to keep your floor warm. It also lowers the risk of freezing the water lines in the space under your RV.
For a skirt that works well and does not cost too much, use rigid foam board. We suggest using Extruded Polystyrene (XPS) foam board. It provides solid insulation, often giving you an for every inch of thickness. This material resists water and is easy to cut to fit your RV.
For the best results, you must seal the skirt tightly. Use special products like 3M Cold Weather Tape or heavy-duty foil tape. These tapes create airtight seals between the foam panels and the RV. This tight seal stops air movement.
This is more important than the foam’s R-value. It creates a necessary “dead air space” under your rig that stays much warmer than the outside temperature.
RV Winter Skirting: 3 Hidden Secrets
Essential facts for a warm winter trip!
SECRET #1: Wind Block is Key
- Blocks wind and cold airflow.
- Prevents pipe freezing risk.
- Cuts heat loss drastically.
SECRET #2: XPS Foam Board
- Rigid Foam is budget-friendly.
- Extruded Polystyrene (XPS).
- Resists water and offers solid R-value.
SECRET #3: Seal Tightly!
- Use 3M Cold Weather or Foil Tape.
- Achieve an airtight seal.
- Creates a warm “dead air space” underneath.
2. Add Smart Heat Underneath Your RV

Even if your skirting job is perfect, your systems can still freeze if the temperature stays below $0C for a long time. Skirting only slows down heat loss. It does not totally stop it. This is especially true near pipes or drain valves. You often need extra heat to protect these important parts.
A smart way to do this is to put a controlled heater inside the skirted area. You must manage this system well to save power. Many RVers use a basic, tough metal space heater. They place it on a concrete slab under the most at-risk plumbing. The most important tip is to connect this heater to a thermostatically controlled outlet.
You can buy these online. They only turn the heater on when the temperature at the plug drops below a set point, often around $35°C ($1.7°C). This stops the heater from running all the time. It saves power while still protecting your pipes. You can also use marine-grade bilge heaters or heaters made for wet bays.
These are safe and reliable options for tight, wet spaces. If you use a tight skirt and this thermostat-controlled heat, you can thaw frozen pipes or stop them from freezing in the first place.
3. Take Care of Your Slide-Out Seals
Slide-outs give you more space, but they also let in a lot of cold air. They are easy targets for ice damage. The space between the slide and the main RV is a huge source of heat escaping and cold air coming in.
How to Fix It: You need to check the seals and rubber gaskets closely for any cracks or gaps before the deep cold hits. Small tears let moisture in. That moisture then freezes and expands, which can wreck the seals or the structure. You must use a high-quality seal conditioner. This keeps the rubber soft and flexible.
It stops it from getting stiff in the cold and makes sure the slide-out closes tightly. Also, grease the moving parts (tracks and gears) with a cold-weather grease so they move smoothly.
Do not use heavy oils, as they can get thick and stop the slide-out from working in extreme cold. Putting on slide-out covers or awnings adds another layer of defense against snow and ice buildup on the top of the slide.
4. Stop the Cold Ground From Stealing Your Heat

Cold floors are awful. They pull heat right out of your RV. When your RV floor and stabilizing jacks touch frozen ground, it works like a giant “heat sink” that actively “saps body heat”.
To slow down this heat loss, set your stabilizing jacks on thick, non-water-soaking pads. This helps stop metal from touching the frozen ground directly. Inside the RV, you need more insulation layers. Lay down heavy, layered rugs or carpets.
This creates a noticeable barrier against the cold. You can make it even better by adding heated rugs or special floor mats near the door or in the hallway. This trick keeps you comfortable and helps keep the whole inside of your RV warm.
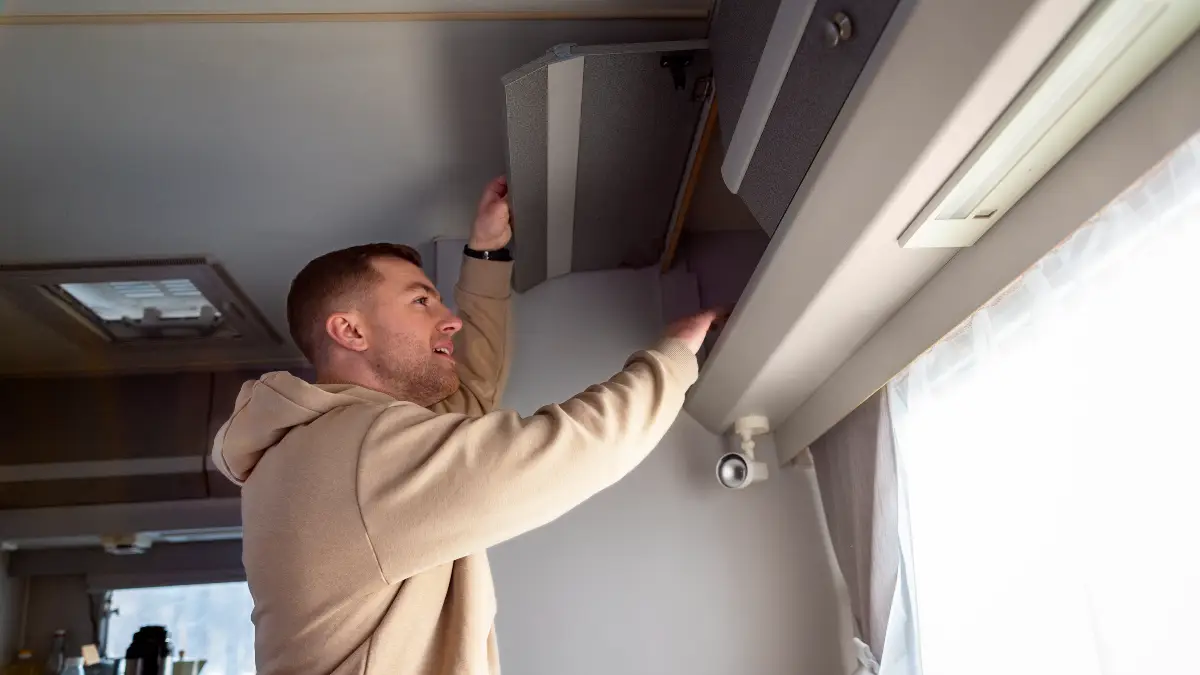
5. Seal Up Your Roof Vents and AC Units
Heat always moves up. This means any opening in your ceiling—like roof vents, skylights, or AC units—is a huge place for heat to escape. While your walls might have an R-value of R-10 to R-15 and your floor is protected by the skirt, many RV ceilings do not have the recommended R-20+ insulation you need for good cold weather defense.
The easiest and best hack is to put in a physical barrier. First, cover your outside AC unit. This stops ice and debris from building up. Inside, you should fit high-density, custom foam plugs or cushions tightly into all your roof vents and skylights.
If you leave these areas open, they create a major gap. Your heated air will escape straight up, making all your other insulation efforts useless.
6. Use a Heated Hose and Heat Tape
Your outside water connection is the first place that will freeze. A standard hose will fail. It is guaranteed.
Action Plan: If you are hooked up to city water, you must use a dedicated heated RV water hose. This keeps the water liquid between the spigot and the RV inlet. For the other exposed pieces, like filters and valves, wrap them carefully with specialized heat tape and insulation. The heat tape heats up the exact spots where the water stops flowing.
If the cold gets very bad (down to single digits or below zero), let one or more faucets run with a slow, continuous trickle of water overnight. This keeps the water moving in the pipes and stops it from freezing solid.
7. Open Cabinets for Warm Air
Your RV’s main living space might be warm. But pipes running along outside walls or inside cabinets (especially under the sink) can still freeze. This happens because warm air cannot reach them.
Action Plan: The simplest internal fix is to let the warm air reach these spots. Do this by keeping all kitchen and bathroom cabinet doors open 24/7. This lets the warm air from your furnace or space heaters move around the pipes and fittings that might freeze.
For an extra boost, some RVers put small, low-heat sources—like a low-wattage LED light or ‘grow lights’—under the sinks. This small amount of heat helps the most sensitive pipe sections.
8. The Three Rules for Tank Protection
Your holding tanks (fresh, gray, and black) must not freeze. If they do, they can crack and damage the valves or sensors.
Rule 1: Tank Heater Pads: A smart solution is to install special tank heater pads on the outside of the tanks. These pads run on low voltage (usually 12V DC). They use a small amount of power, about 65 Watts or 5 Amps. Remember, these pads only work to keep the water from freezing. They cannot thaw a tank that is already frozen. They work best when your underbelly is skirted.
Rule 2: Antifreeze: You must use RV-safe, non-toxic antifreeze in your gray and black tanks. This is key because waste tanks hold standing water, and ice forming around the drain valves can destroy them. The antifreeze makes the water harder to freeze. This stops expansion and damage. Never put RV antifreeze in your fresh water tank or drinking lines.
Rule 3: Fresh Water Management: In cold weather, it is safer to keep your fresh water tank full. Use your RV’s pump instead of hooking up to city water. The fresh water tank is often placed inside the heated underbelly area. This gives it more protection than a hose connected outside.
9. Build Your Emergency Thaw Kit
Even prepared full-timers sometimes get a freeze-up when the temperature drops fast. You need a plan and the right tools ready to go so you can fix it quickly.
Action Plan: The main tool for your thaw kit is a powerful hair dryer. Use a hair dryer instead of a heat gun. It blows a wide, gentle stream of hot air. This lowers the chance of melting your plastic pipes or fittings. When you thaw a line, start heating the area closest to the blockage.
Be patient and take your time. You should also keep access tools in your kit, like screws or tools needed to cut a temporary door in your DIY skirting. You should also keep extra, flexible pipe sections in case you need a quick fix.
10. Use Both Propane and Electric Heat
The best way to heat your RV uses both propane (the furnace) and electricity (space heaters). If you rely only on propane, you will spend a lot of money and need frequent tank refills. If you rely only on electric heat, you risk freezing critical systems (like the underbelly and furnace ducts) if the power goes out.
Strategy: You should use the propane furnace for its most important job: keeping a base temperature in the structure. This is especially true for the enclosed underbelly and the ducted tanks. When you are plugged into shore power, use safe, electric space heaters (like ceramic or oil-filled ones) to heat the main cabin.
This way, you use less propane. You also make sure the key plumbing parts stay warm. This method also removes the risk of carbon monoxide (CO) that comes from burning propane inside.
11. The Window Insulation Triple Play

Windows, especially the thin, single-pane kind on most RVs, let out a lot of heat. They also cause a lot of condensation. You need three layers of insulation to stop this.
Layer 1: The Air Barrier: Put shrink plastic film kits on the inside of your window frames. When you heat this film, it shrinks tightly. This creates a critical layer of still air between the cold glass and the warm inside.
Layer 2: Heat Reflector: For windows you do not need for light, cut rigid Reflectix material or foam board inserts (R-value R-5 to R-6) to fit perfectly in the frame. Reflectix works great because it bounces radiant heat back into your living space.
Layer 3: The Draft Stop: Hang heavy thermal curtains or thick blankets over your windows and the main door. These stop drafts and add another layer of material insulation. They cut down on heat loss a lot overnight. You can hang them easily with tension rods or Velcro.
12. Smart Propane Use

Cold weather makes your furnace use much more propane. Full-time RVers often report using three to four times more propane than they do in warm weather. You must manage this well to save money and avoid running out.
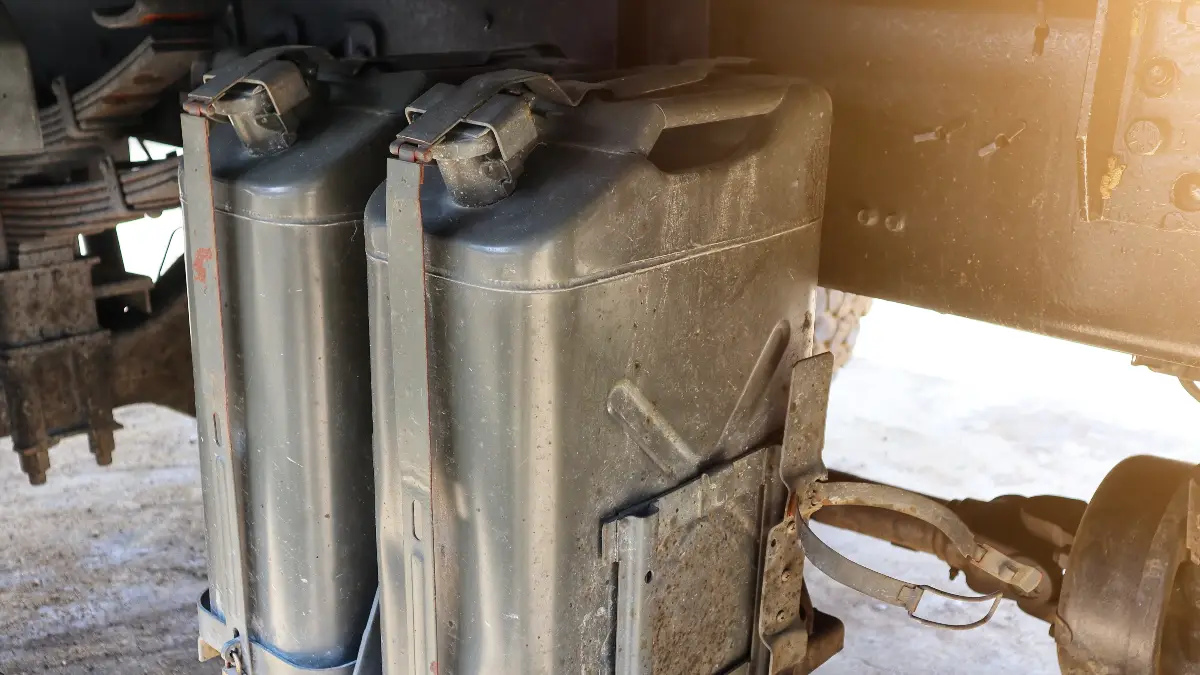
Cold Weather Issues: You must protect your propane tanks from extreme cold. If the temperature gets below freezing, especially sub-zero, the pressure inside the tank can drop quickly. This makes it hard for the propane to turn into gas and light your furnace.
Use special propane tank blankets or heaters to help keep the pressure up. You also need to refill your tanks more often in the winter to keep the liquid level high and the pressure right.
How to Compare Costs: You might think electric heat is easier, but propane is often the better fuel for making a lot of heat. When we compare regional energy costs, propane often wins.
13. Upgrade Your Walls and Floors
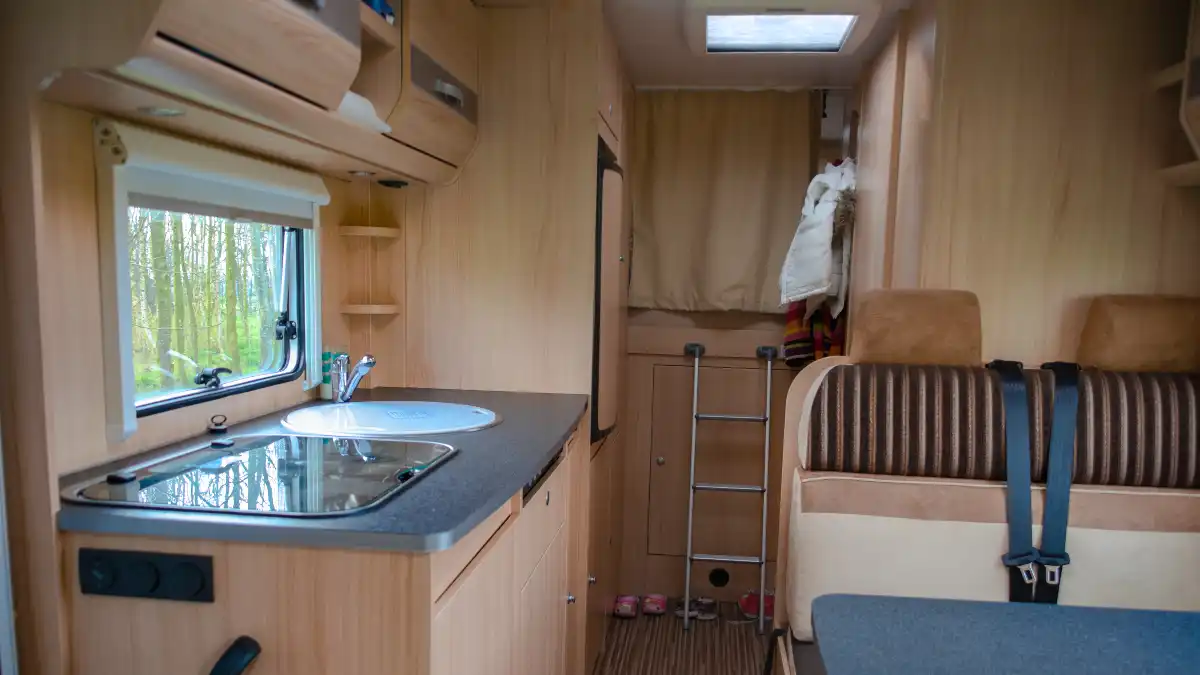
For living in an RV all the time, the basic insulation is not enough. You should update your walls, floor, and ceiling where you can. This stops heat from constantly escaping.
Action Plan: If you can reach the original insulation, it is smart to make it better. Use spray foam insulation in open wall spaces. This seals the air better and gives you a higher R-value (R-3 to R-7 per inch). For walls and floors, rigid foam board (XPS) offers an R-value of R-5 to R-6 per inch.
Some RVers have shared that their inside temperature went up by 10–15 degrees just by laying down rugs and upgrading their insulation. These big fixes mean your heaters do not have to run as long, which saves you money over time.
14. Keep Humidity Between 30% and 50%

You create a lot of moisture inside your RV just by living: breathing, cooking, and showering. Also, some propane heaters add moisture when they burn fuel.
Action Plan: You need a hygrometer to check your humidity. You must work hard to keep the levels between 30% and 50%. The best tool for this is a dedicated dehumidifier.
When you buy one, check the PPD (Pints Per Day) capacity and the coverage area. For a typical mid-sized RV, smaller units like the Pro Breeze (1.1 PPD moisture removal, up to 215 sq ft) or the Crane 1.5 Pint (2000 ml capacity, up to 300 sq ft) work well . You will be surprised by how much water these collect, so empty them often.
Use small moisture absorbers like DampRid in closets and other tight spots. Also, wipe down your windows every day. This stops water from pooling and damaging your seals.
15. The Mandatory Ventilation Rule

Letting air out means losing a little heat. But you must do this to stop big problems like moisture damage and bad air quality.
Action Plan: You absolutely must ventilate when you use your stove, oven, or unvented propane heaters . Propane burning creates moisture and a dangerous gas called carbon monoxide (CO). You must crack a window or vent slightly whenever you use these things. This pulls fresh air in and pushes bad air out.
Use small fans to move air around, especially near the ceiling and corners. This prevents wet, still pockets of air from forming. Even when you are not using propane, run the vent fans after you shower or cook to clear out the extra humidity.
16. The CO Detector Mandate

This is the most important safety hack for surviving cold weather when you use heaters that burn fuel. Carbon monoxide (CO) is a gas you cannot see or smell, and it can kill you.
Safety Protocol: You must install and regularly test smoke and Carbon Monoxide (CO) alarms near your kitchen and where you sleep . CO can come from engine or generator exhaust leaks. It often comes from a propane appliance that is broken or not vented right. If you choose a portable propane heater, pick one made for indoor use that has an Oxygen Depletion System (ODS) sensor .
The ODS sensor is a vital safety layer. It automatically shuts off the heater if the oxygen level in your RV drops below 18 percent . This feature is key to stopping CO buildup in a small space. Make sure a professional checks your heaters, water heaters, and flues every year to keep them clean and working safely.
17. Have a Power Backup Plan

Power Optimization: You need to use less power. Change all your lights to efficient LED bulbs. They use much less power than old bulbs. This makes your battery last longer during the dark winter. You must always check your battery levels.
The furnace fan runs all the time and uses a lot of power. To keep running time high, add a second battery. Even better, upgrade to high-capacity lithium batteries.
Backup Planning: You need a second source of power. This is not optional for Full-Time RV Winter security. Get a gas generator or a big portable power station (like a Bluetti unit that can charge with solar).
This backup power is crucial. It runs the furnace fan, keeps the air moving, and keeps the tank heaters on if shore power stops.
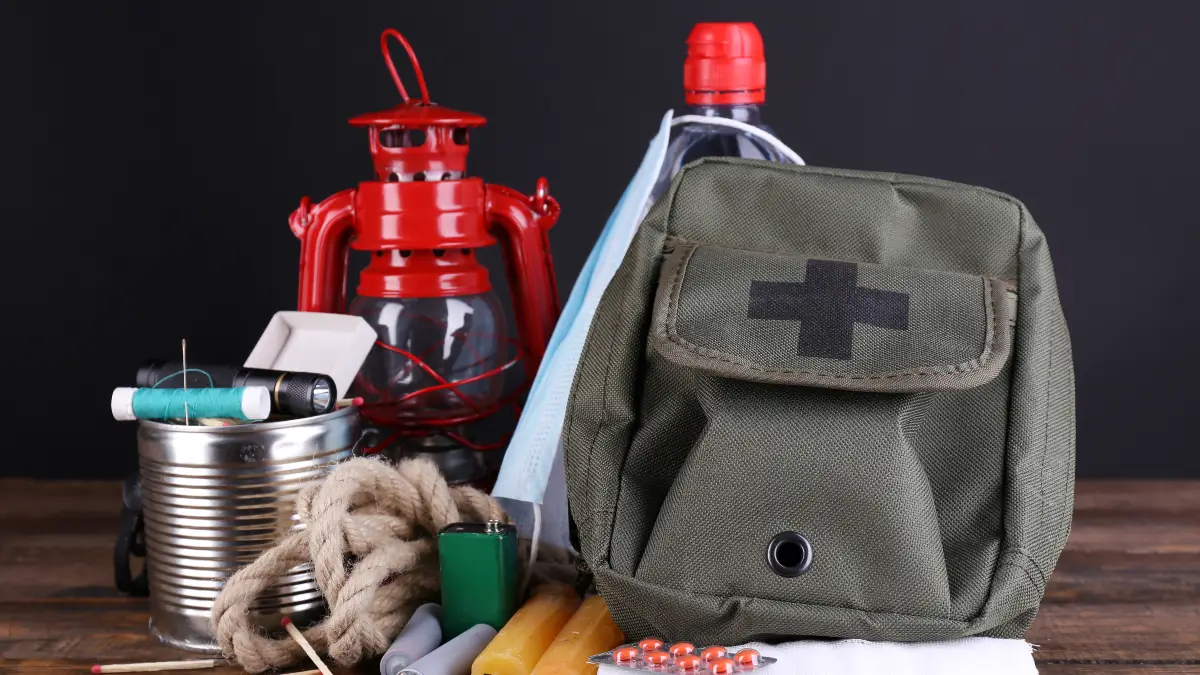
Emergency Stockpile: Finally, gather supplies so you can manage if snow keeps you stuck or the power is out for a long time. Your emergency kit should include:
- Non-perishable food for at least a week.
- Extra propane tanks for unexpected furnace use.
- Cash for when digital payments fail.
- A crucial item: 5-10 gallons of drinking water stored inside your heated living area. This ensures you have liquid water if your outside lines freeze.
- Good winter clothes, like sleeping bags rated for zero degrees, insulated boots, and thermal layers. You need these to stay warm if your main heat system breaks.